How to Make Solar Eclipse Viewers
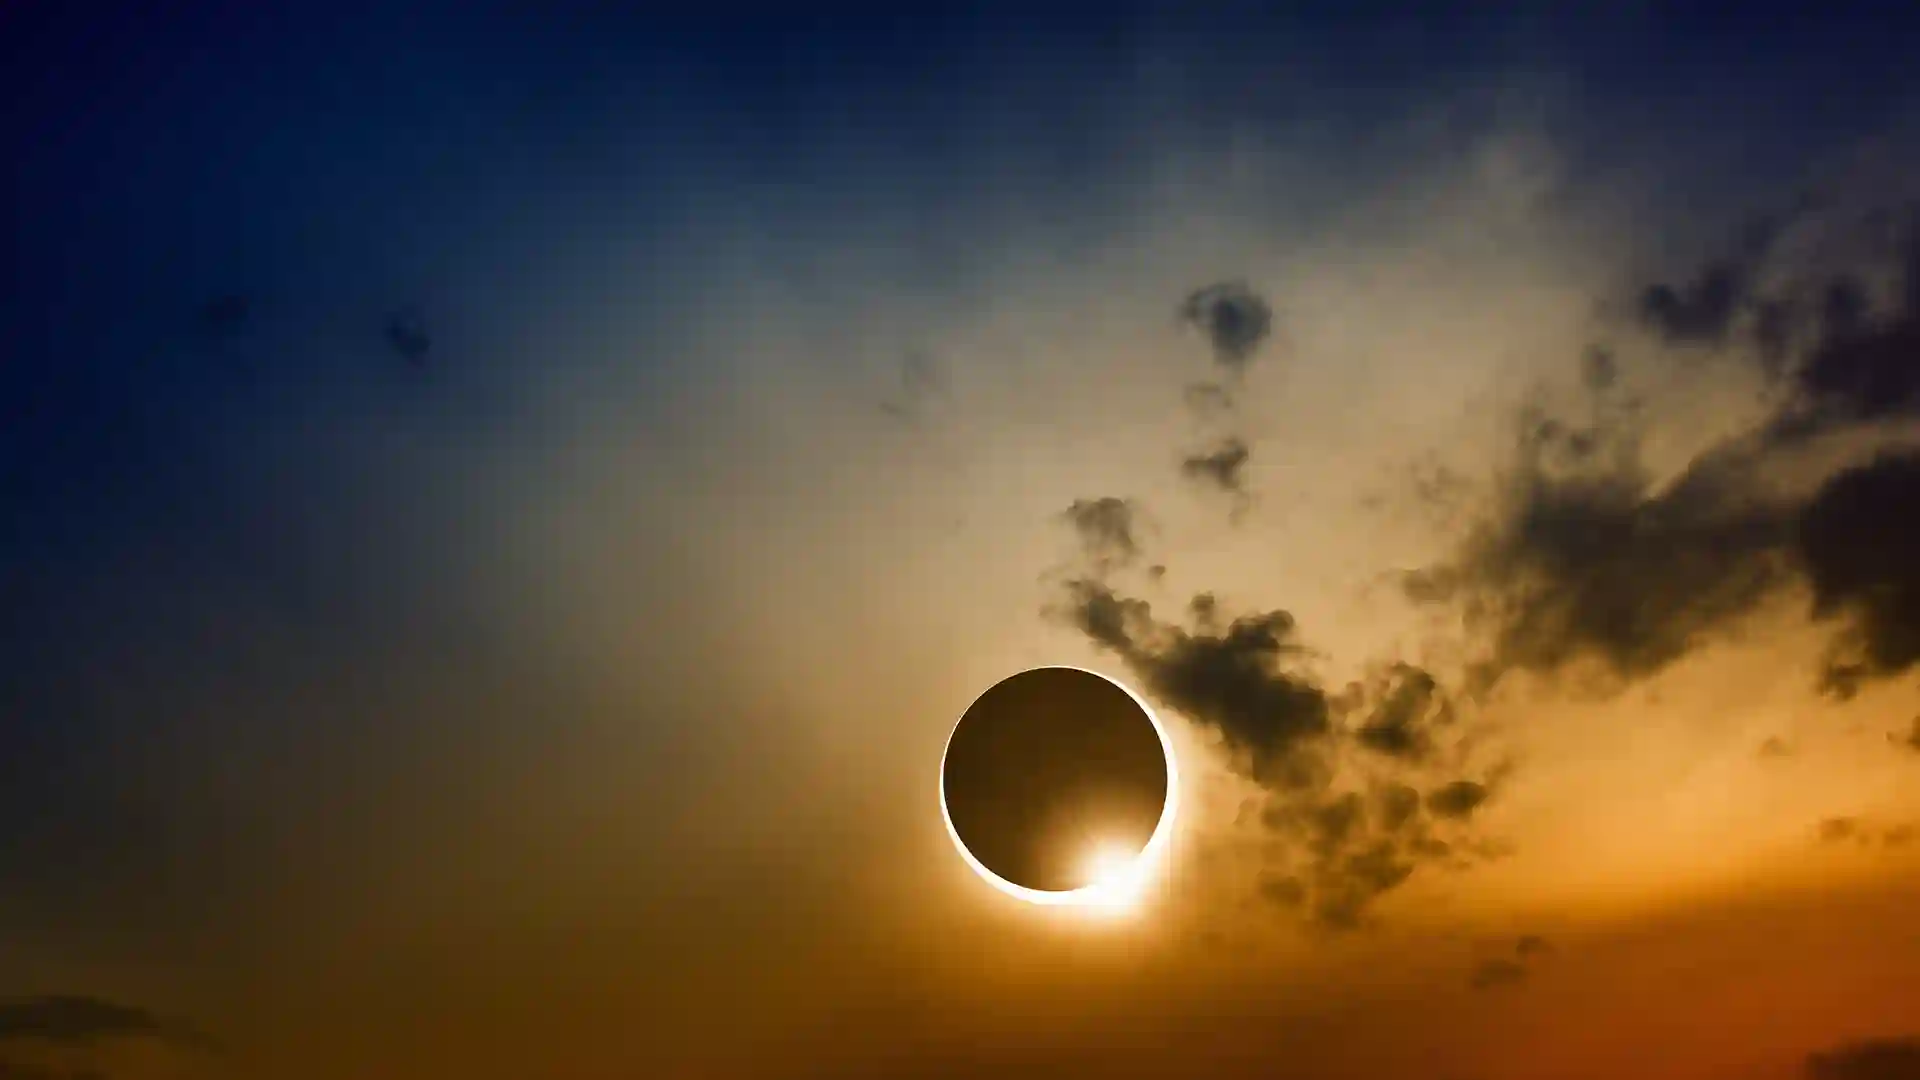
Who doesn’t love a good solar eclipse, especially when it happens while you’re cruising the world with Holland America Line? If you’re an eclipse enthusiast, then you don’t want to miss our 22-day Solar Eclipse Cruise aboard the Koningsdam for the total eclipse on April 8, 2024. In the meantime, consider satisfying your astronomical wanderlust during the upcoming annual eclipse on Oct. 14 with a fun activity at home.
We recently caught up with University of California San Diego (UCSD) Professor of Astronomy and Astrophysics Adam Burgasser – our featured guest speaker on the Solar Eclipse Cruise – and the UCSD Cool Star Lab to learn how we can make our own eclipse viewers with household materials. Here’s what you need to get started:
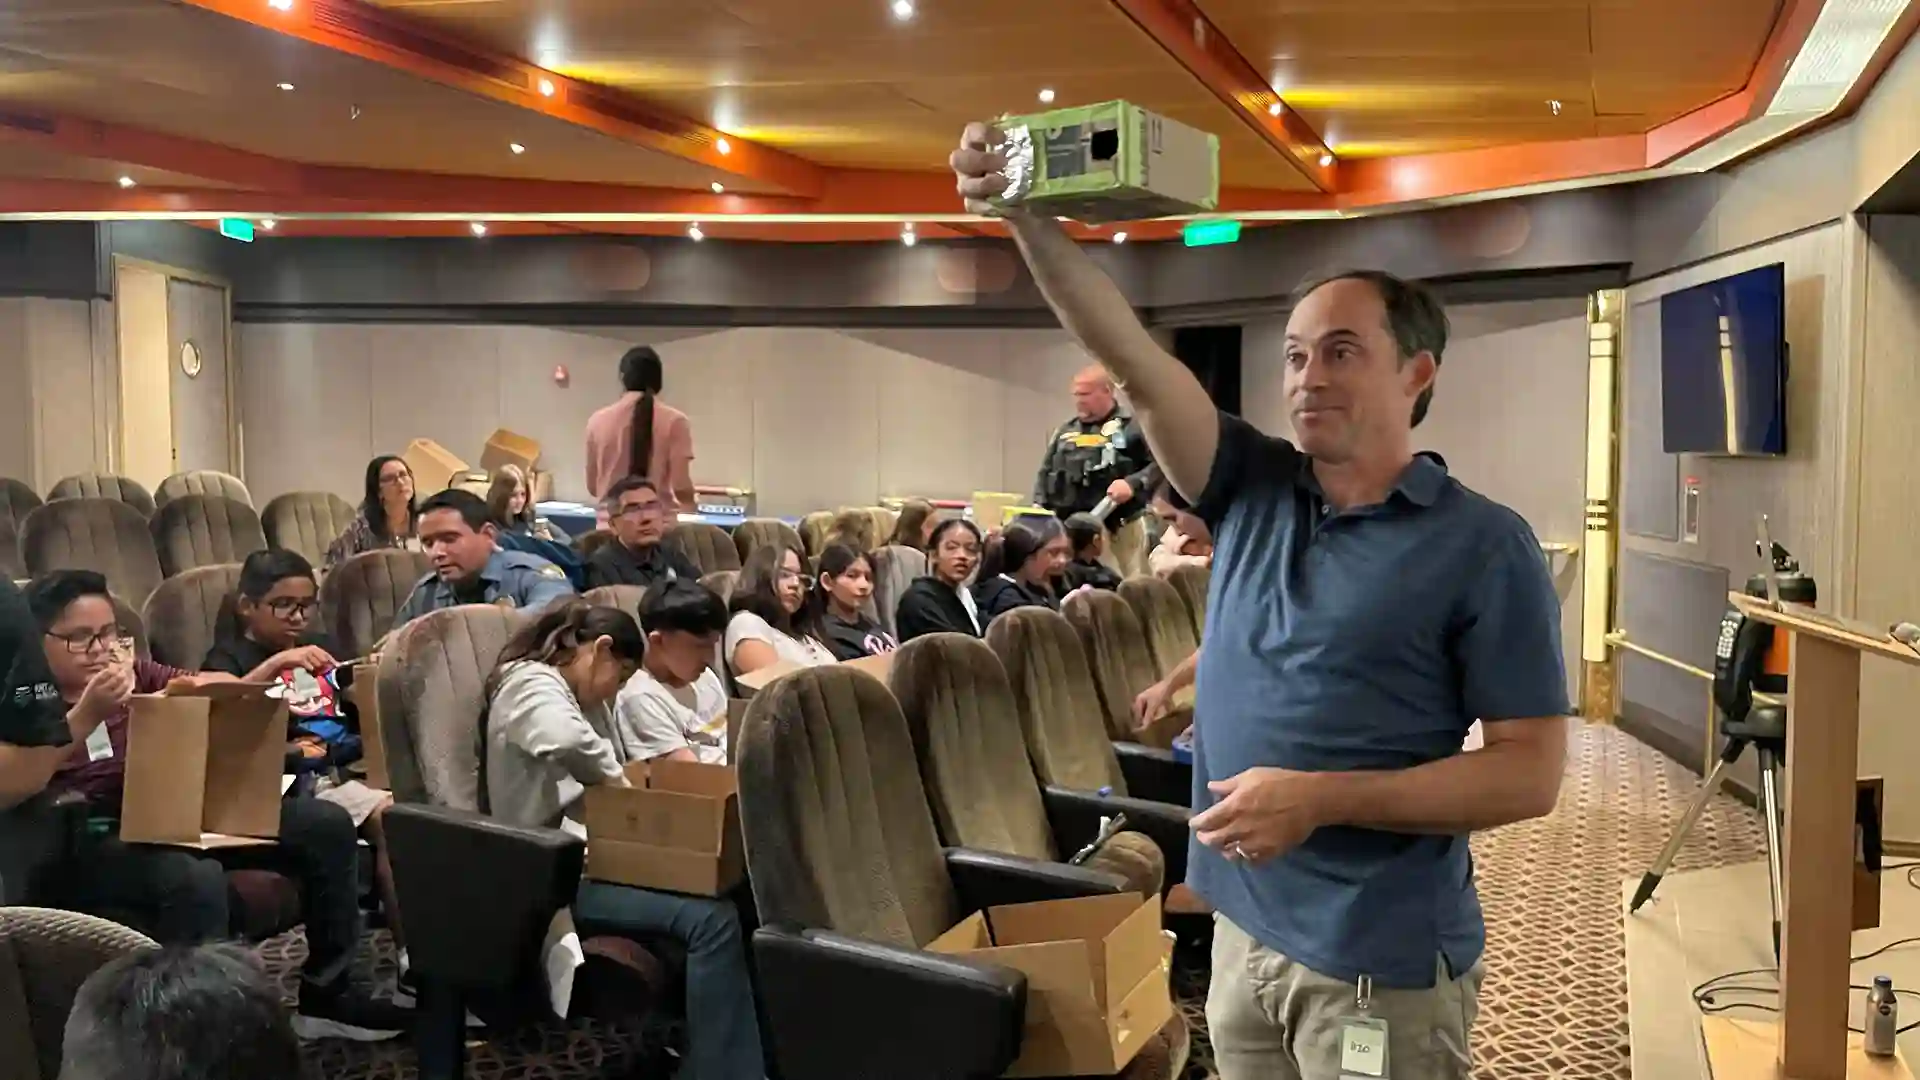
Sixth graders from Perkins K-8 School visit the Volendam while at port in San Diego to meet University of California San Diego Professor of Astronomy and Astrophysics Adam Burgasser and learn how to make solar eclipse viewers.
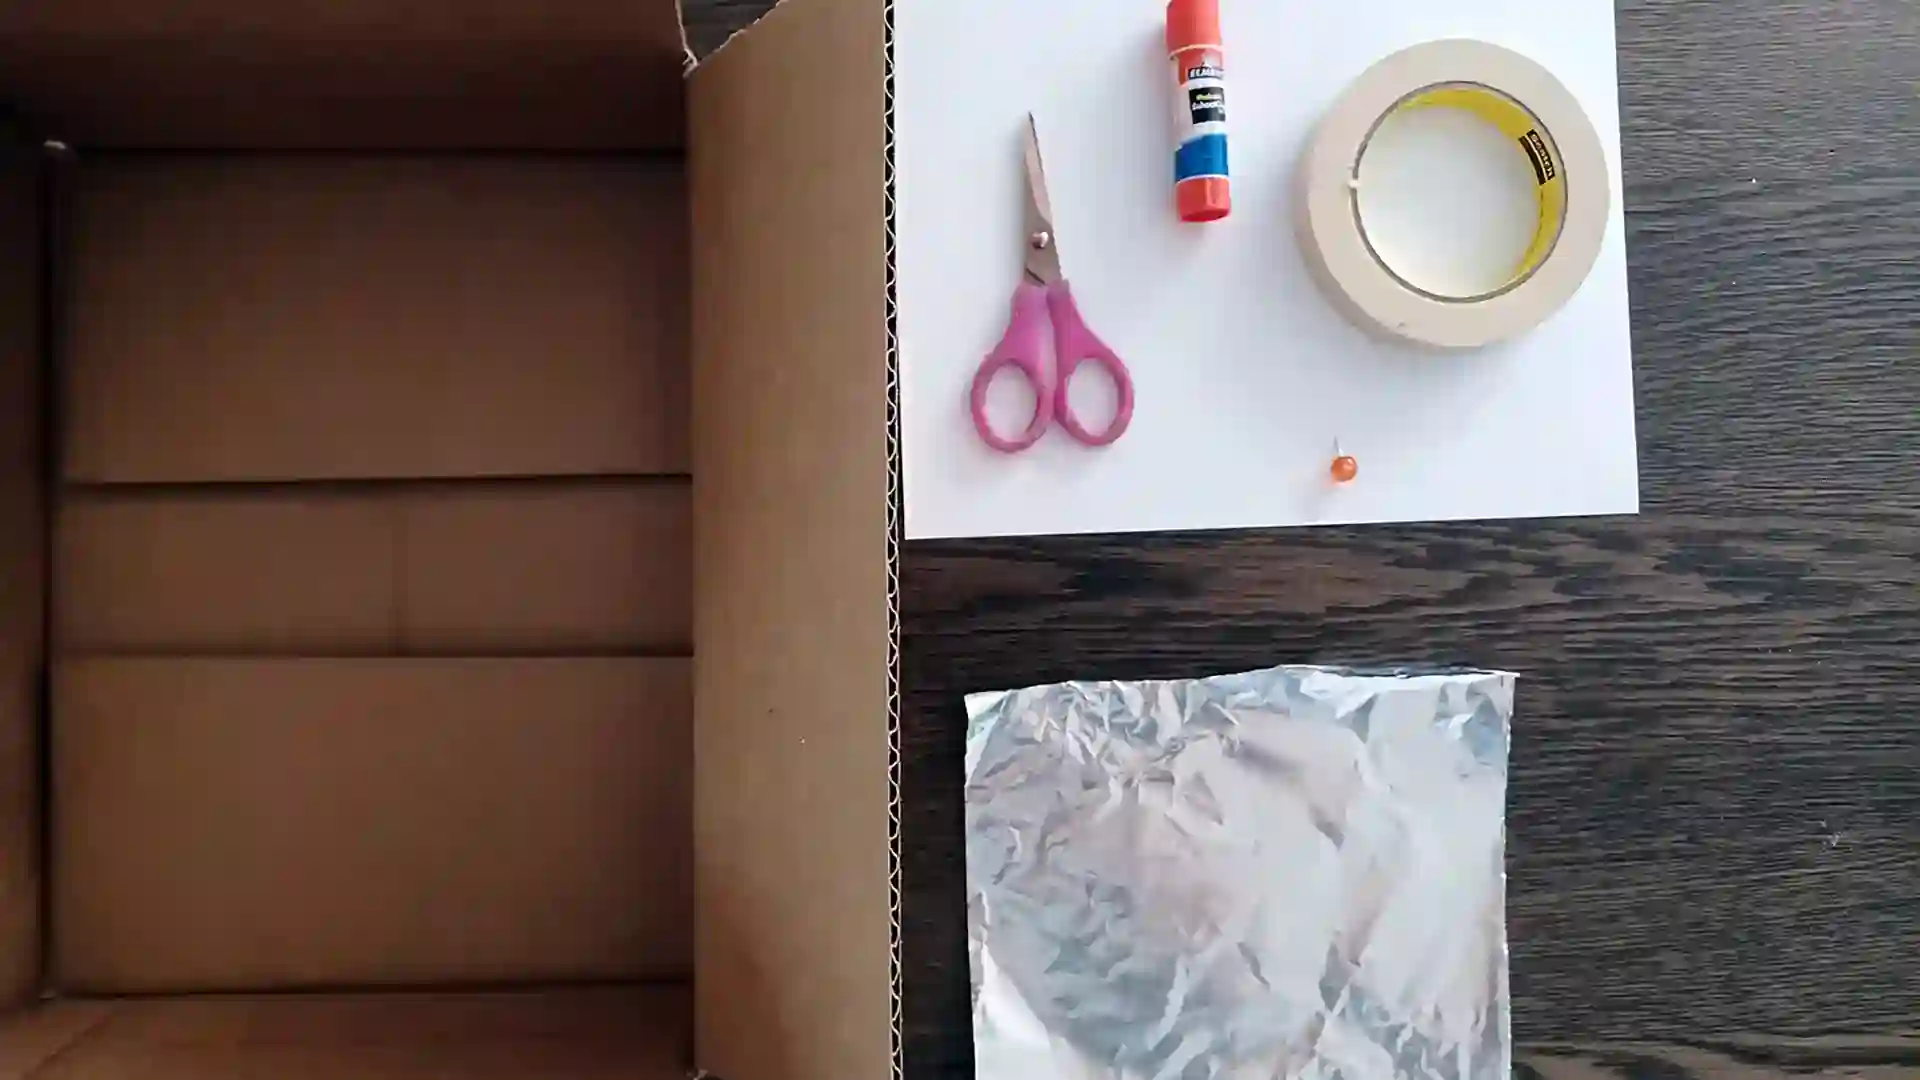
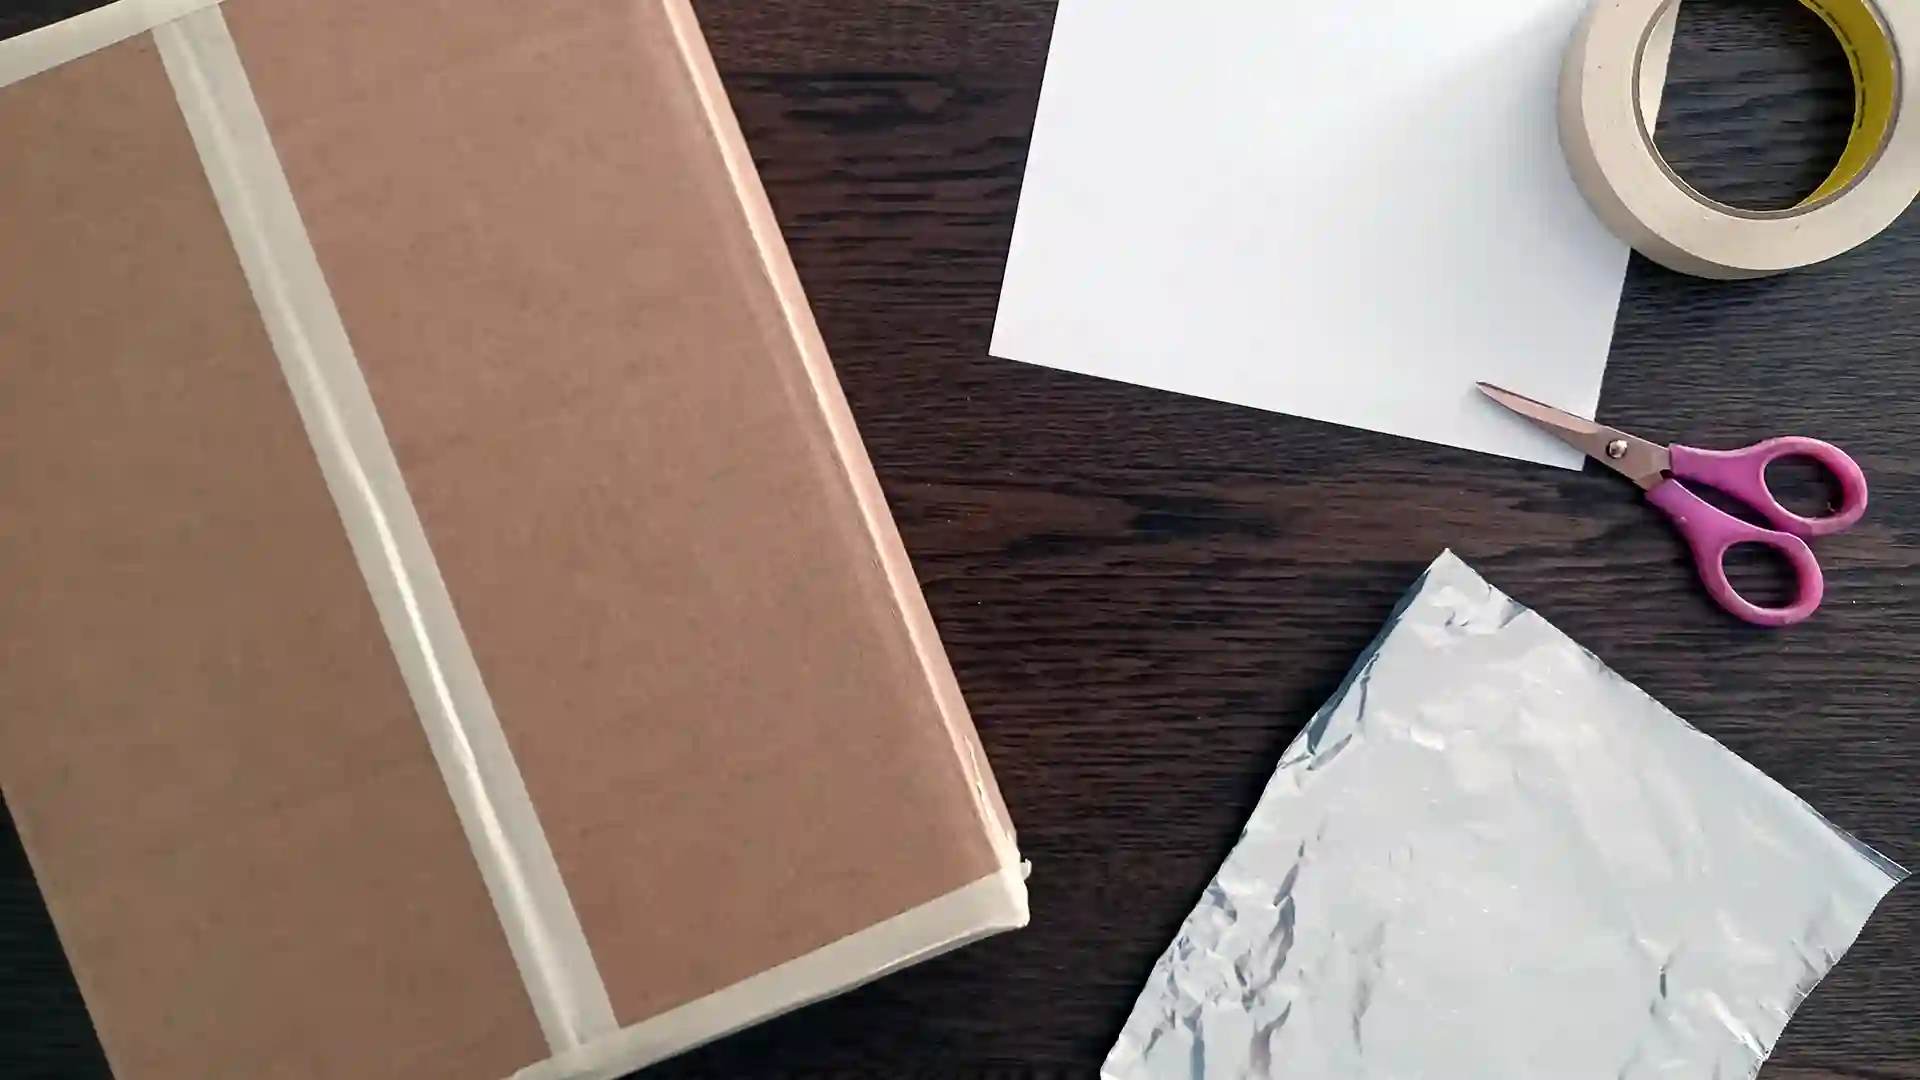
Supplies Needed
- A box that can be completely sealed (shoebox, cereal box, or small shipping box work perfectly)
- A sheet of white paper (printer paper works great)
- A piece of aluminum foil
- Scissors
- Glue or paste
- Tape (preferably masking tape or painter’s tape)
- Pushpin, paperclip, or toothpick
- Decoration materials (for artistic fun!)
Making Your Solar Pinhole Projector Box
1. Glue down a piece of white paper onto one of the inner sides of the box. The best side is at the end of the longest side of the box.
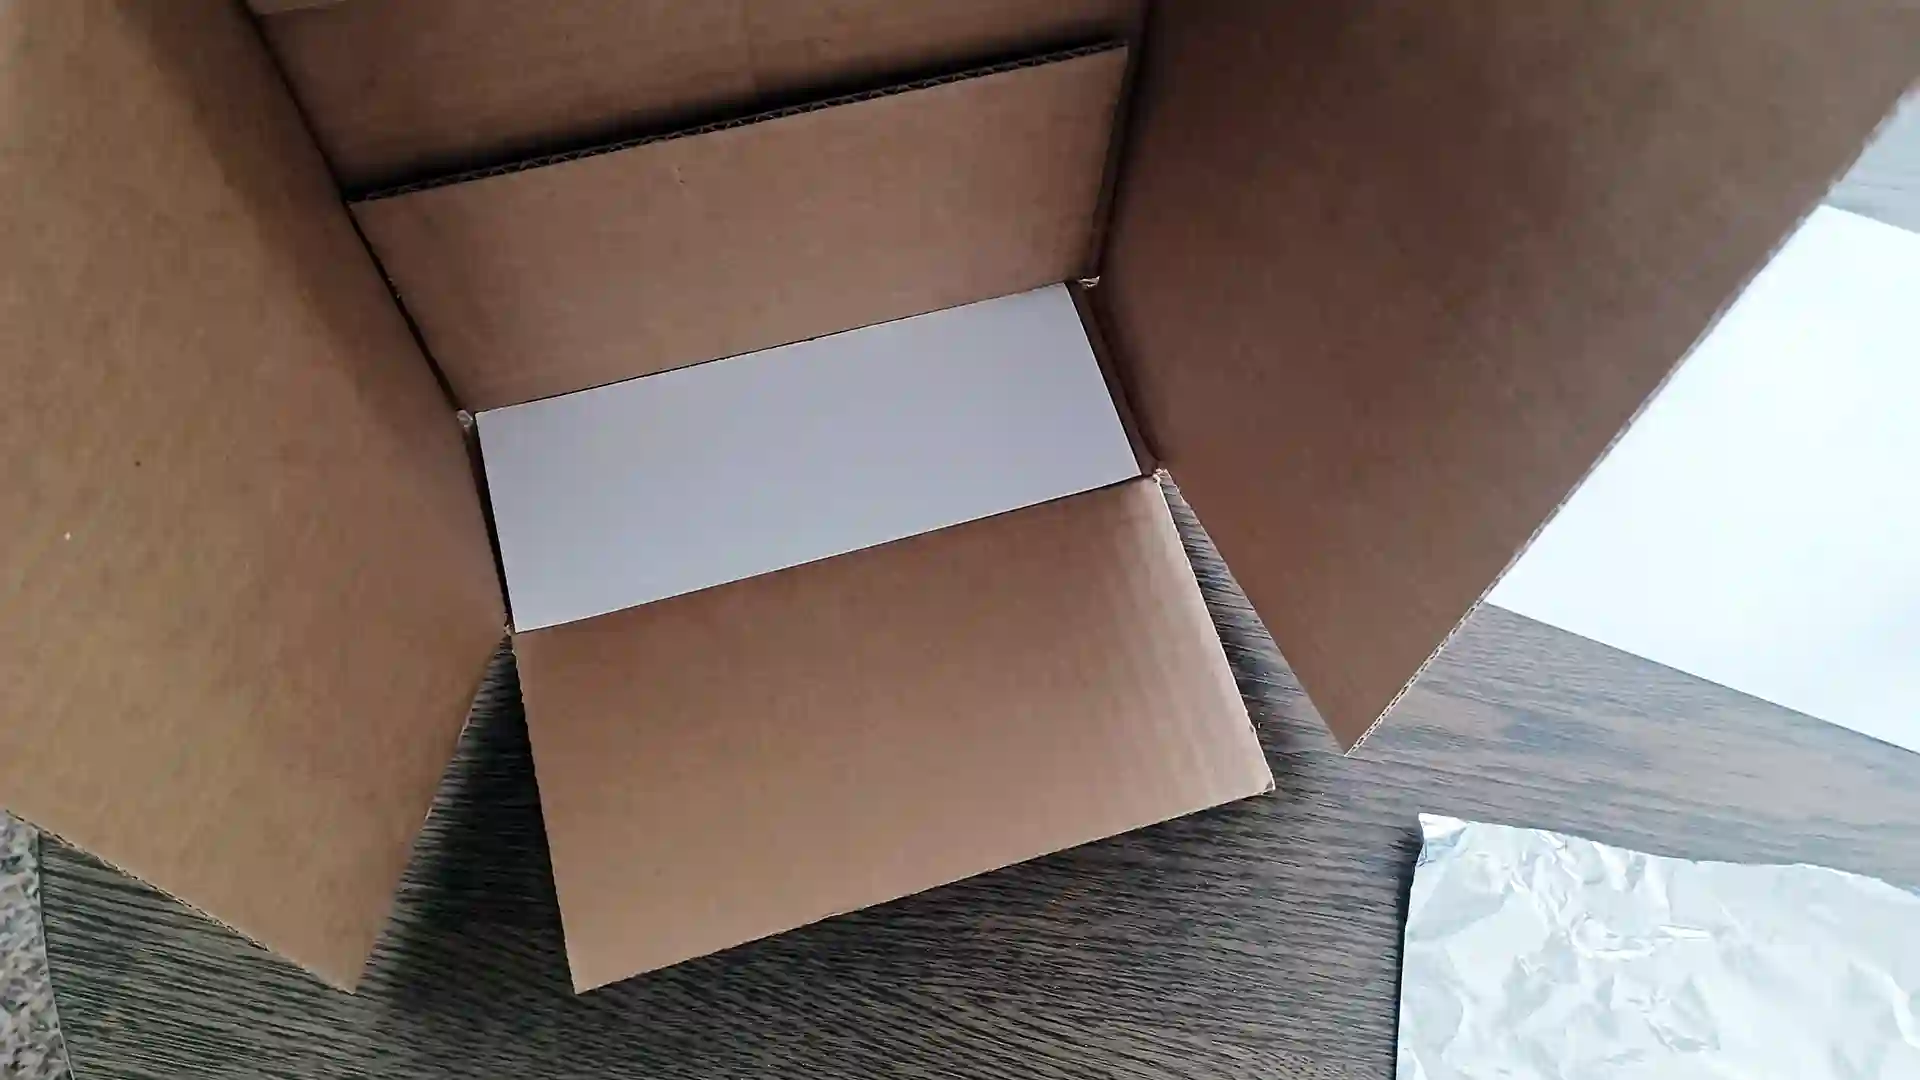
2. Remembering which side you covered in white paper, seal up the box using tape to cover up any gaps along the box edges. Make sure the inside of the box is as dark as possible.
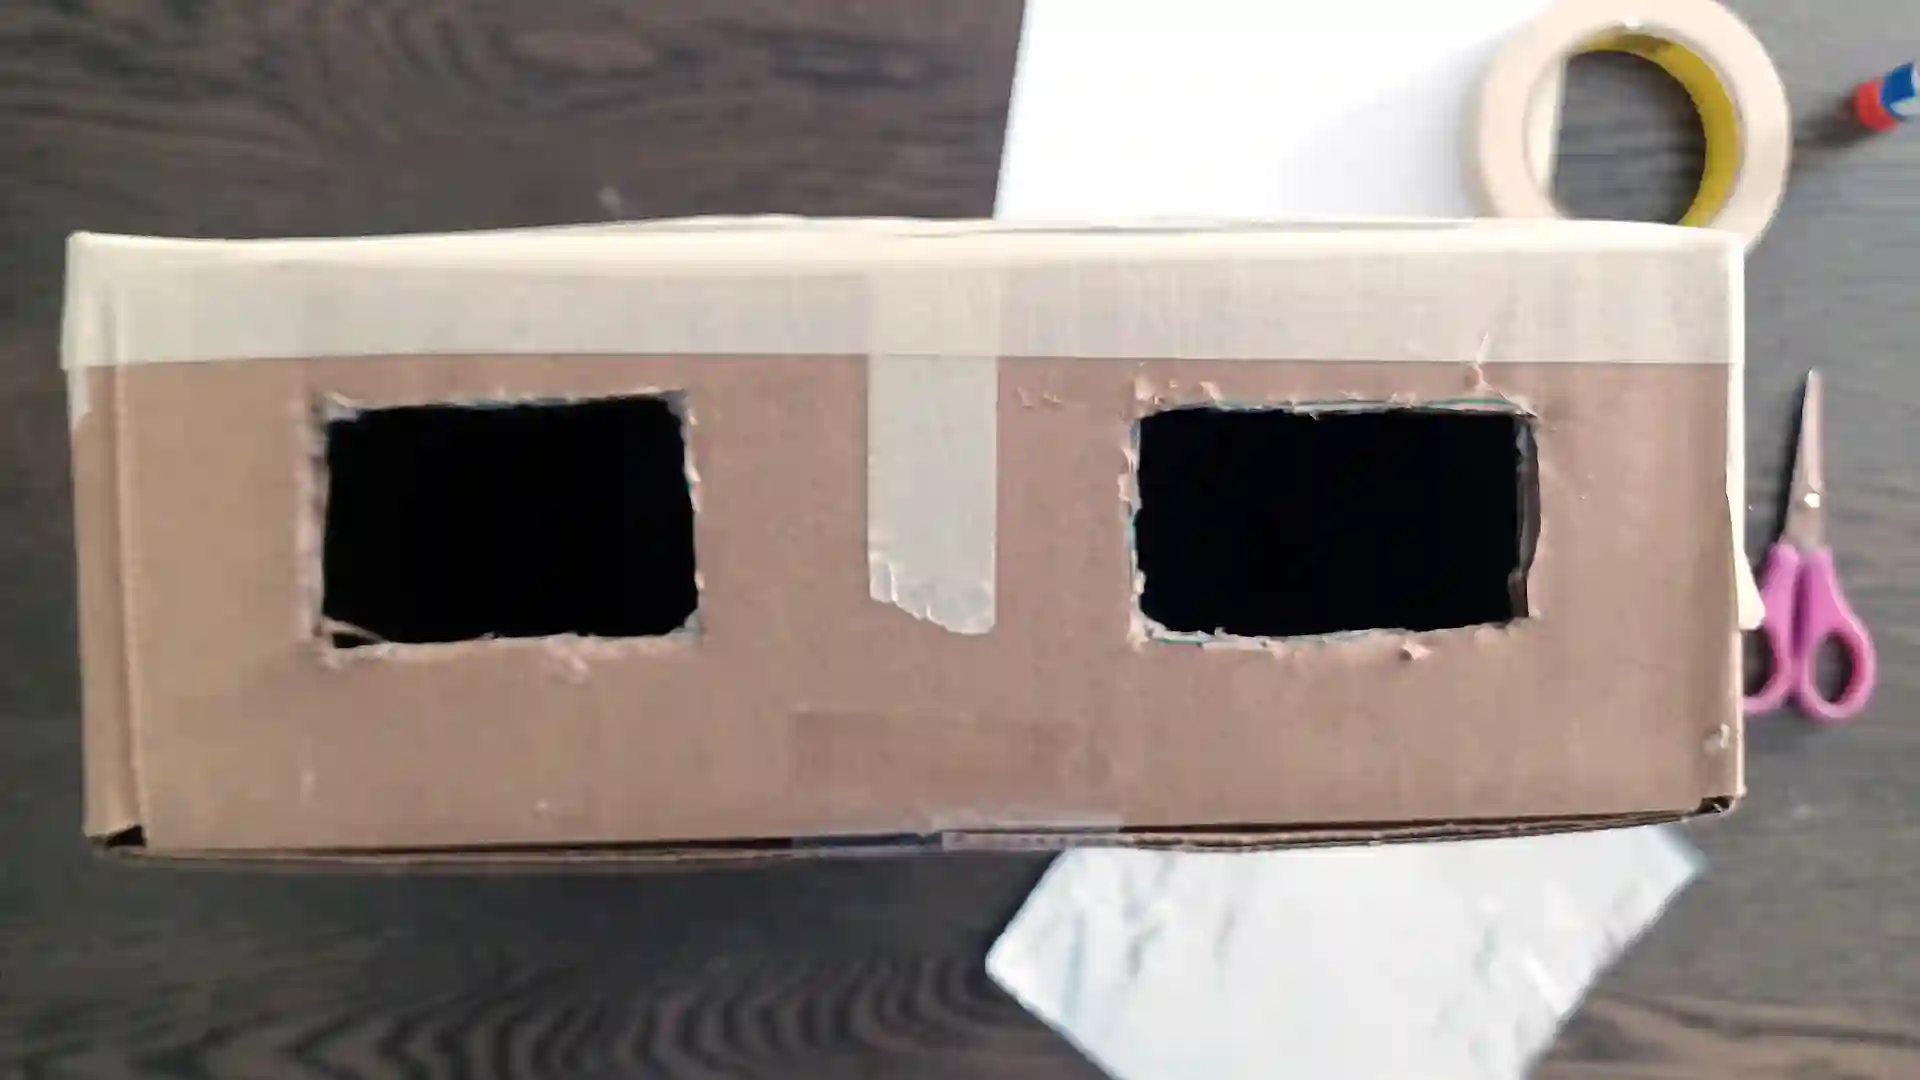
3. On the opposite side of the box from your white paper, cut two openings about 2-3 inches across, and ensure they’re well separated.
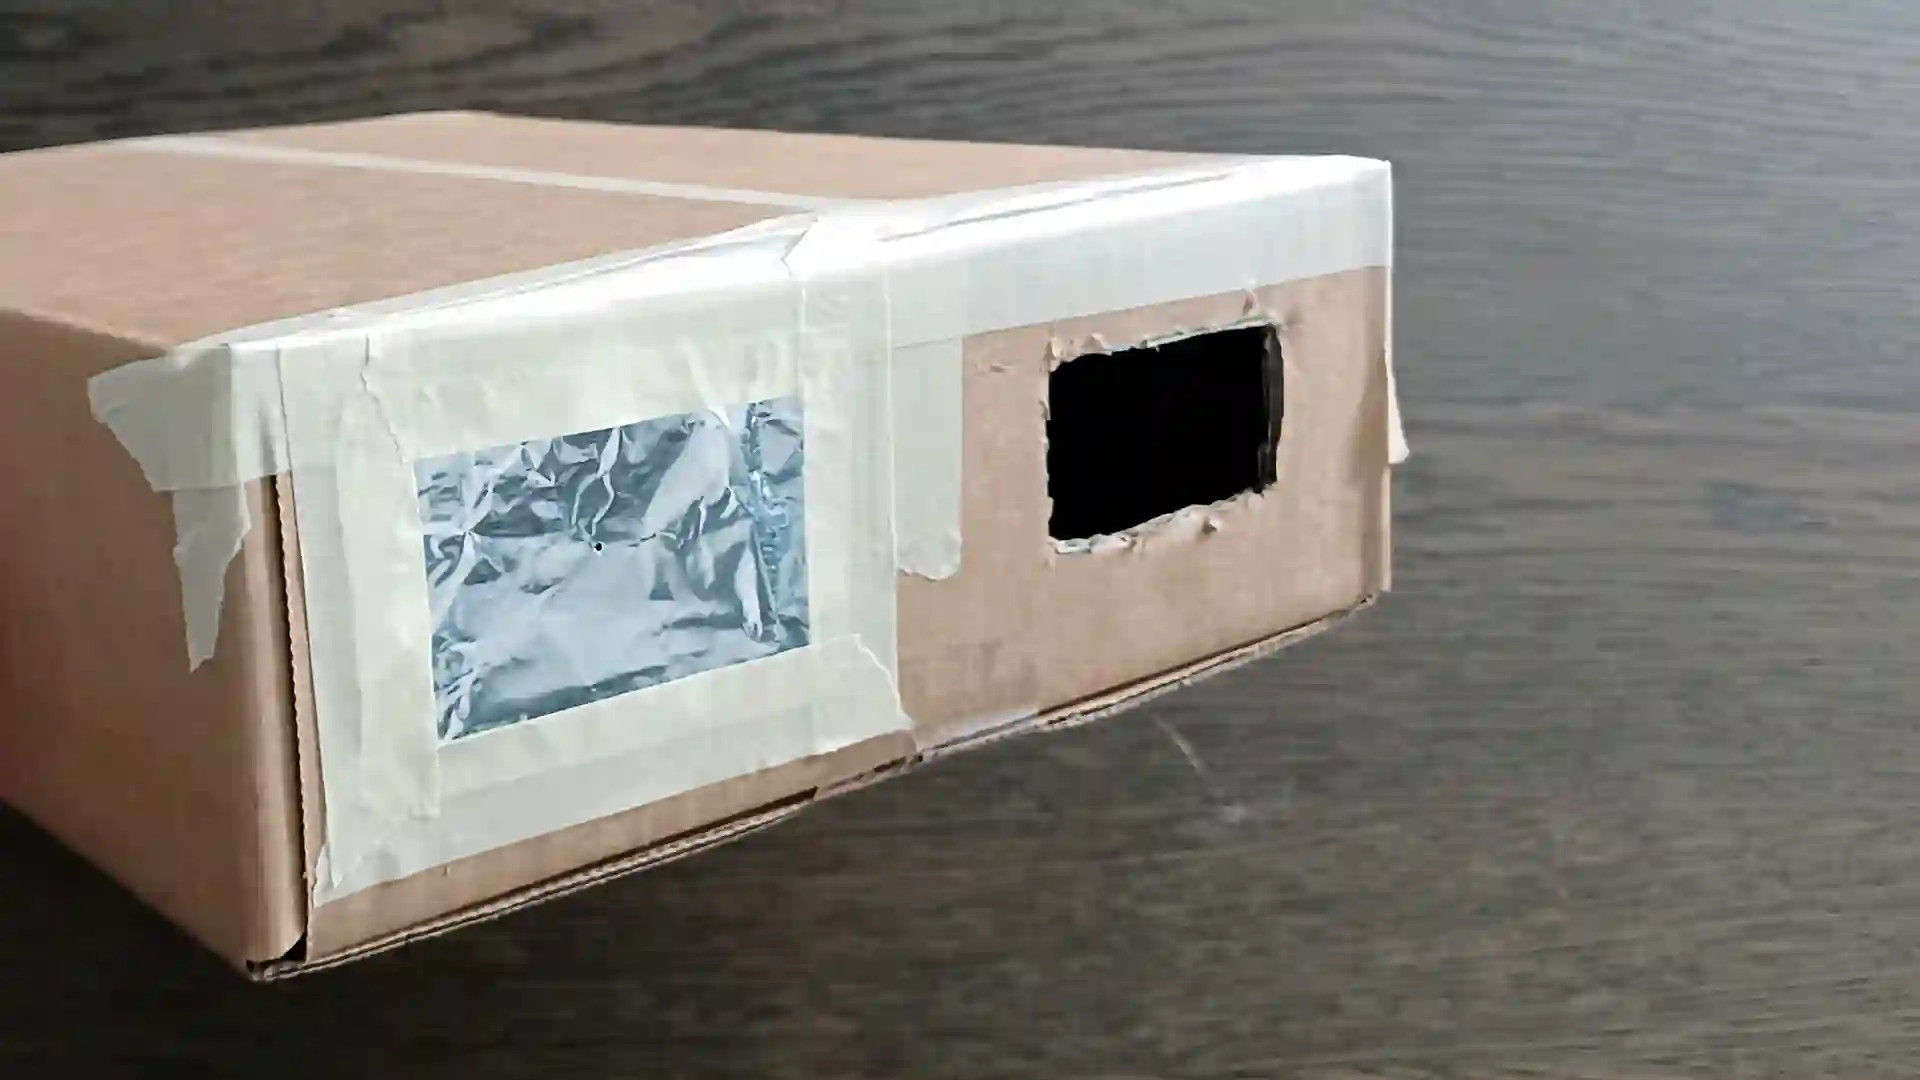
4. Cover one of the holes with a piece of aluminum foil. It’s best to use tape as aluminum foil doesn’t work well with glue. Now poke a single small hole in the aluminum foil with a pushpin, paper clip, or toothpick. This is the pinhole for your pinhole viewer.
Using Your Eclipse Viewer
With the sun behind you, position your box so that the side with the hole and aluminum foil points back at the sun. You may need to tilt and move the box around to get things lined up, but you should see a small image of the sun inside your box when looking in the hole. This is normally round, but during an eclipse you will notice a crescent shape.
And there you go! Eclipse viewer magic. Special thanks to the University of California San Diego for sharing this activity with us. You can learn more about the upcoming eclipse in October by visiting the American Astronomical Society Eclipse site.*Note: Accessing this link means you are now leaving the Holland America Line website and navigating to a third-party website that is not owned, operated, or controlled by Holland America Line or any of its affiliates.
Ready for your next eclipse adventure? Explore our cruise itinerary for the Solar Eclipse Cruise in April 2024.


